I created a chatbot in Python using LINE Messaging API + line-bot-sdk, and simultaneously created a Web application with equivalent functionality, deployed it to heroku, and set up automatic deployment on push to master with continuous integration.
For details of the code, there is a repository where I turned Creating Go☆geous into a LINE Bot and Web app, so please refer to that.
atsukoba/GorgeousApp
Revolution in your heart!. Contribute to atsukoba/GorgeousApp development by creating an account on GitHub.
Preparation for heroku
First, if you are deploying something related to text processing to heroku, you would want to install a morphological analyzer like MeCab + mecab-python. Therefore, select heroku-buildpack-multi which allows multiple buildpacks, and by adding python and linuxbrew buildpacks, you can enable brew install for MeCab, etc.
First, the heroku cli.
1brew tap heroku/brew && brew install heroku
2heroku create --buildpack https://github.com/heroku/heroku-buildpack-multi
Add the following to .buildpack:
1https://github.com/heroku/heroku-buildpack-python.git
2https://github.com/sunny4381/heroku-buildpack-linuxbrew.git
In .celler for linuxbrew, write:
1mecab
2mecab-ipadic
And if you write requirements.txt appropriately, the environment will be ready.
It is good to refer to the following. (Using conda with buildpack-multi to run sklearn)
python+django+scikit-learn+mecab on heroku (1)
LINE Developers / Messaging API Settings
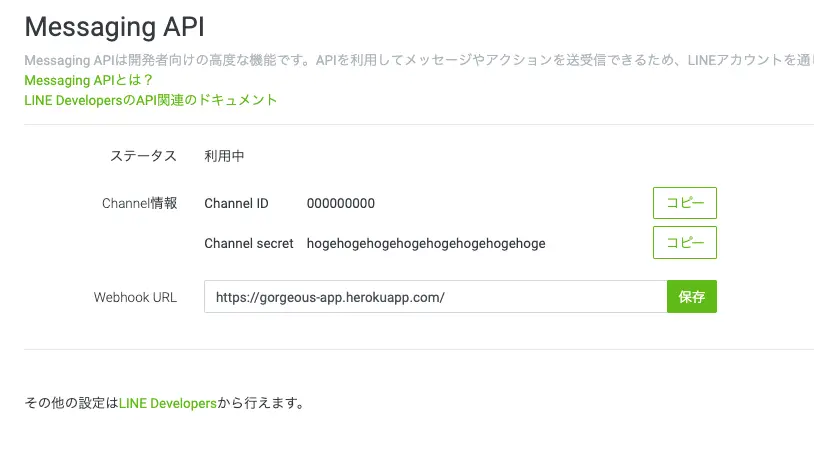
Get various access tokens, etc. The following is probably literally easy to understand.
The world's easiest explanation on how to make a LINE BOT (1) [Account Preparation]
Writing an API with flask
There is a template for LINE bot (app.py), and we use that. There, it responds to POST to /callback, so in addition to that, write at least the processing for GET and POST to the root. (Make it return template HTML with flask.render_template())
Here, load the module for text processing, receive the response to the text input by POST in JSON, and pass it to render_template so that it can be handled by jinja2.
The CHANNEL_ACCESS_TOKEN and CHANNEL_SECRET required to instantiate linebot.LineBotAPI and linebot.WebhookHandler are put in environment variables and retrieved with os.environ.get. Register them from the management screen on heroku, and put something random for local testing.
Test the API with app.run(debug=True).
Writing Jinja2
Since it's text processing, you want at least an input box and an output result UI. So, write HTML and CSS. Create template/ in the same hierarchy as the flask app, and write html there.
Normally, if you fill it in like:
1<form action="/" method="POST">
2  <input type="text" name="input" />
3</form>
You can POST, and within Jinja, inside double brackets:
1<div id="data">{{ data["key] }}</div>
The keyword variables passed into render_template() can be accessed directly as a dictionary.
However, you cannot write raw Python inside double brackets (especially loops or data casting), so it is good to refer to the following.
Useful features of the template engine "Jinja2" for python
If you create static/ in the same hierarchy as templates/, you can write css and js there and tweak the front end a bit. Here, I write sass in sass/ and compile it to css/style.css, so I can use it by reading it from the head as usual like:
1<link rel="stylesheet" href="/static/css/style.css" />
Linking heroku and GitHub
To run it on heroku, write a Procfile.
It's easy to use gunicorn as wsgi, and it's popular or rather essential for flask.
Set the process type to web and start gunicorn.
web: gunicorn app.app:app --log-file=-
Specify the application instance flask.Flask.
The specification method is application module:application instance/function.
Gunicorn - Python WSGI HTTP Server for UNIX
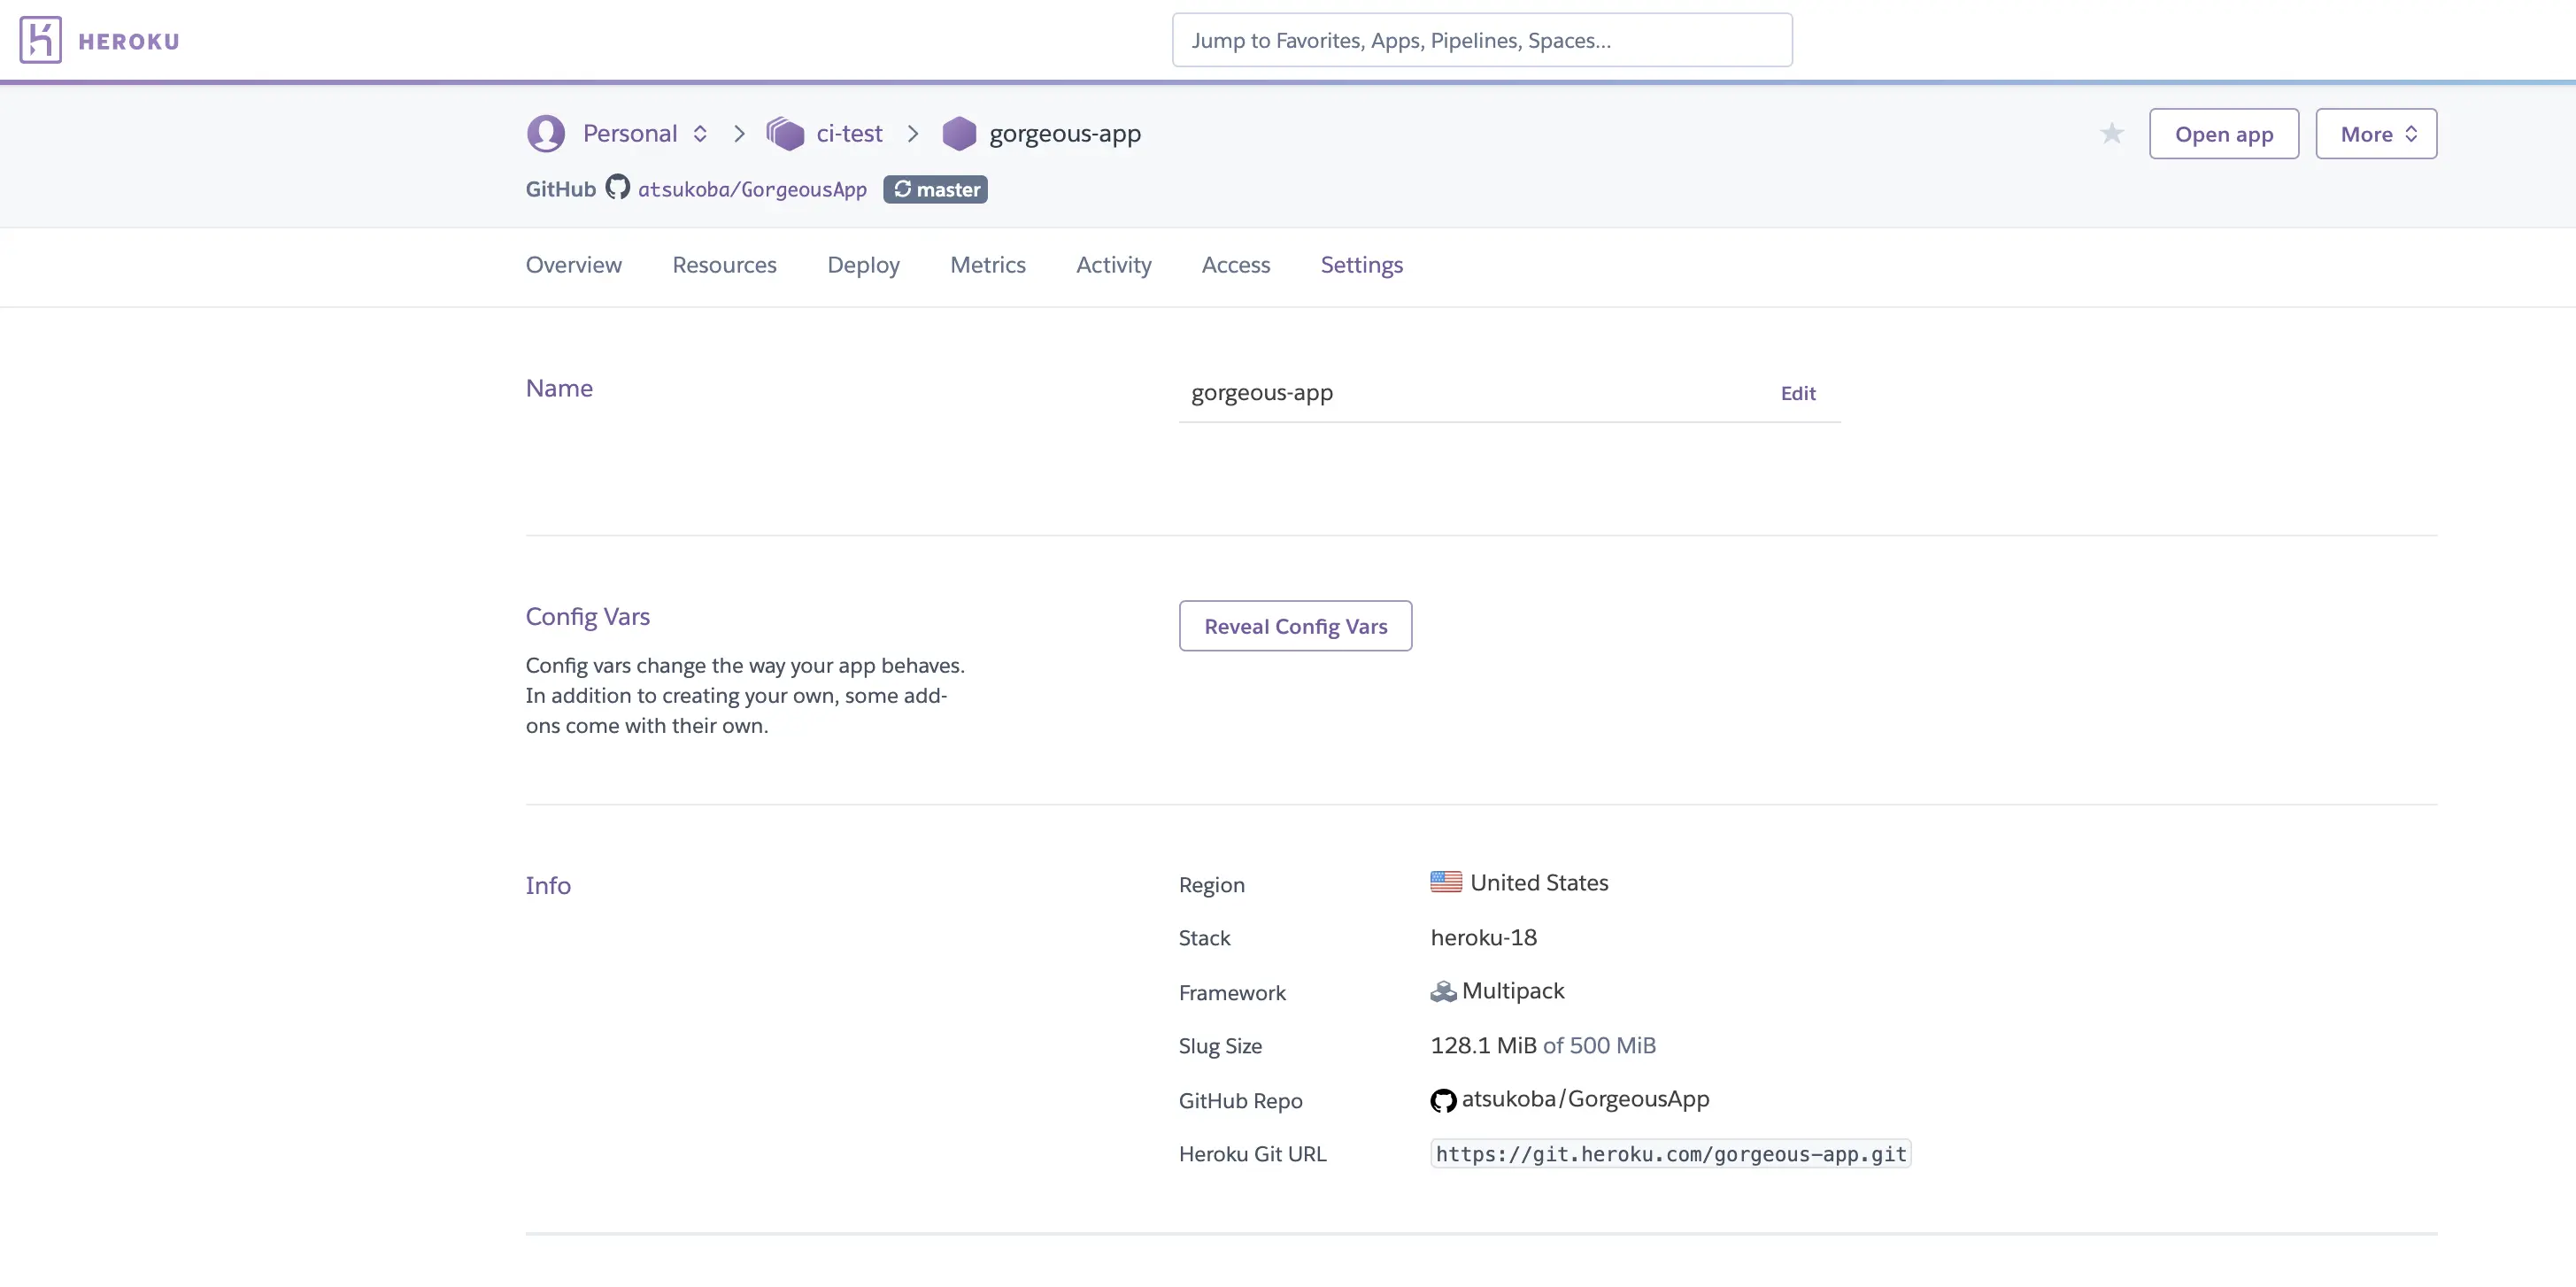
After that, create a remote repository on GitHub, and authenticate/link it on the heroku dashboard. At this time, you can register the access token issued by LINE from config vars in the GUI.
Then, if you just git push normally, the deployment will run.
In addition to the logs during deployment, the contents output by logging or print from Python can also be checked from the dashboard logs, so if you check them one by one there, you should be able to make something that works.